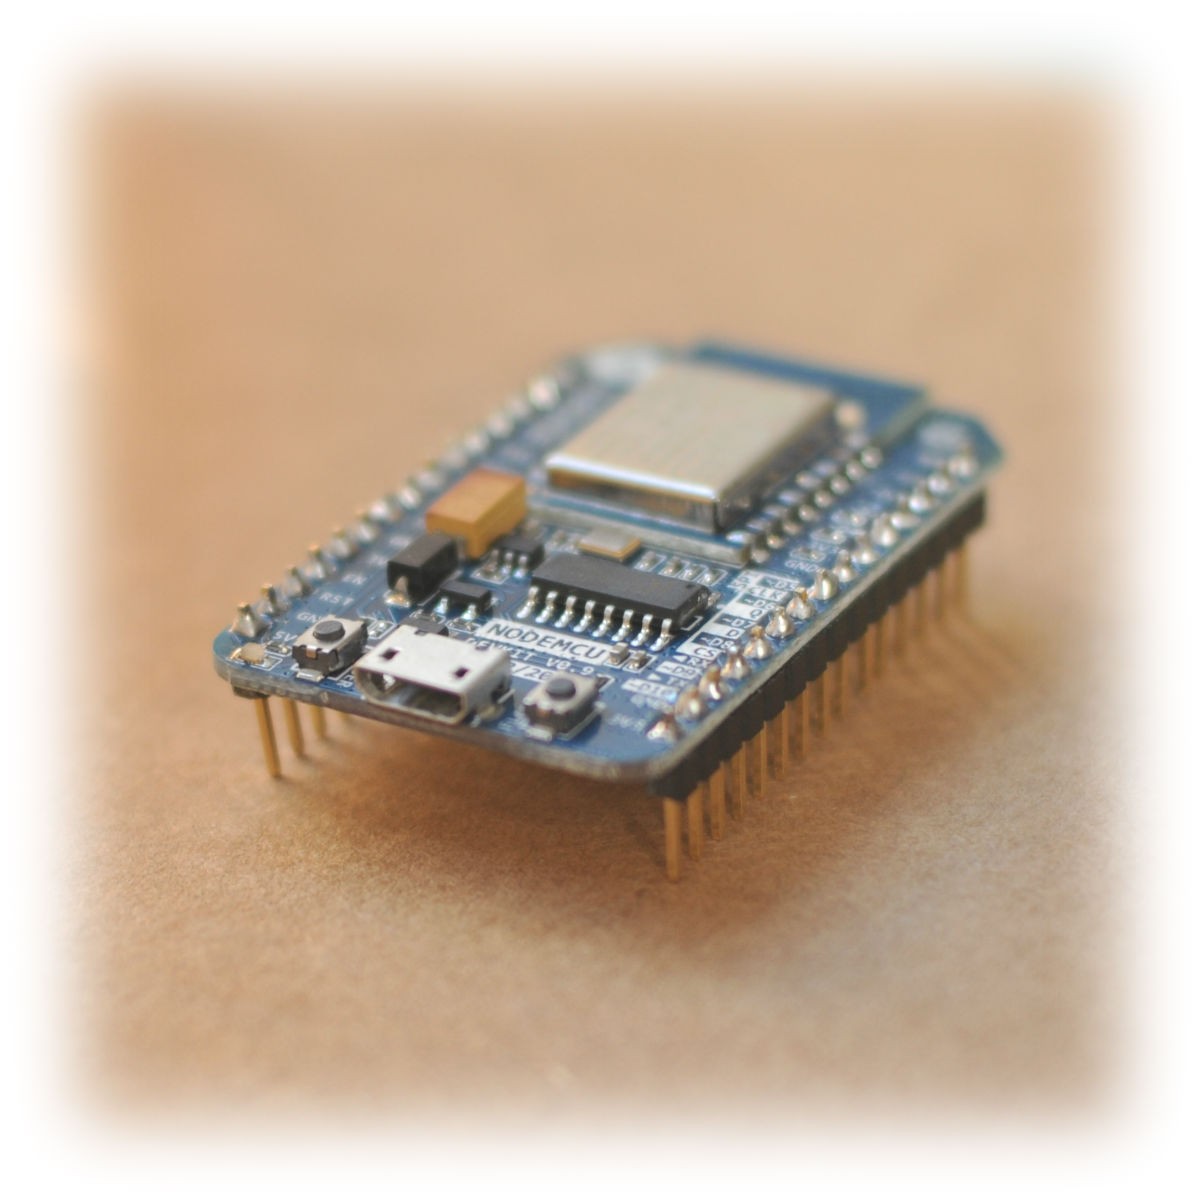
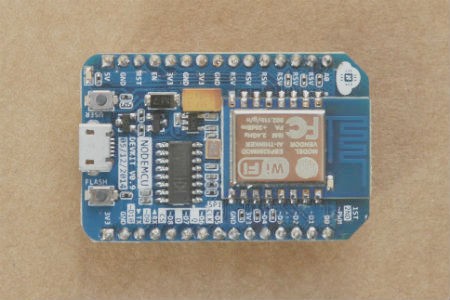
Taillieu.Info

More Than a Hobby..

nodemcu

http://www.nodemcu.com/


Home
Features
Examples
DevKit
Discuss
中 文
http://www.nodemcu.com/images/thumbnail/p-10292_1.jpg_2048x1371.jpg); background-size: cover; background-position: 50% 100%;">
NodeMcu
Connect Things EASY
An open-source firmware and development kit that helps you to prototype your IOT product within a few Lua script lines
Features
Open-source, Interactive, Programmable, Low cost, Simple, Smart, WI-FI enabled
Arduino-like hardware IO
Advanced API for hardware IO, which can dramatically reduce the redundant work for configuring and manipulating hardware. Code like arduino, but interactively in Lua script.
Nodejs style network API
Event-driven API for network applicaitons, which faciliates developers writing code running on a 5mm*5mm sized MCU in Nodejs style. Greatly speed up your IOT application developing process.
Lowest cost WI-FI
Less than $2 WI-FI MCU ESP8266 integrated and esay to prototyping development kit. We provide the best platform for IOT application development at the lowest cost.
 
Development Kit
The Development Kit based on ESP8266, integates GPIO, PWM, IIC, 1-Wire and ADC all in one board. Power your developement in the fastest way combinating with NodeMcu Firmware!
USB-TTL included, plug&play
10 GPIO, every GPIO can be PWM, I2C, 1-wire
FCC CERTIFIED WI-FI module, PCB antenna
 
Examples
A few examples to play with

Connect to the wireless network

              
print(wifi.sta.getip())--nil
wifi.setmode(wifi.STATION)
wifi.sta.config("SSID","password")
print(wifi.sta.getip())--192.168.18.110
               

Arduino like IO access

              
pin =1
gpio.mode(pin,gpio.OUTPUT)
gpio.write(pin,gpio.HIGH)
gpio.mode(pin,gpio.INPUT)
print(gpio.read(pin))


HTTP Client

              -- A simple http client
conn=net.createConnection(net.TCP,false) 
conn:on("receive",function(conn, pl) print(pl)end)
conn:connect(80,"121.41.33.127")
conn:send("GET / HTTP/1.1\r\nHost: www.nodemcu.com\r\n"
    .."Connection: keep-alive\r\nAccept: */*\r\n\r\n")


HTTP Server

              -- a simple http server
srv=net.createServer(net.TCP) 
srv:listen(80,function(conn) 
    conn:on("receive",function(conn,payload) 
    print(payload) 
    conn:send("<h1> Hello, NodeMcu.</h1>")
    end) 
end)
               

PWM

              function led(r,g,b) 
    pwm.setduty(1,r) 
    pwm.setduty(2,g) 
    pwm.setduty(3,b) 
end
pwm.setup(1,500,512) 
pwm.setup(2,500,512) 
pwm.setup(3,500,512)
pwm.start(1) 
pwm.start(2) 
pwm.start(3)
led(512,0,0)-- red
led(0,0,512)-- blue
               

Blinking Led


lighton=0
tmr.alarm(0,1000,1,function()if lighton==0 then 
    lighton=1 
    led(512,512,512) 
    -- 512/1024, 50% duty cycleelse 
    lighton=0 
    led(0,0,0) 
end 
end)


Bootstrap

              --init.lua will be excuted
file.open("init.lua","w")
file.writeline([[print("Hello World!")]])
file.close()
node.restart()  -- this will restart the module.
               

Use timer to repeat

              
tmr.alarm(1,5000,1,function() print("alarm 1")end)
tmr.alarm(0,1000,1,function() print("alarm 0")end)
tmr.alarm(2,2000,1,function() print("alarm 2")end)-- after sometime
tmr.stop(0)
               

A pure lua telnet server

              -- a simple telnet server
s=net.createServer(net.TCP,180) 
s:listen(2323,function(c) 
    function s_output(str) 
      if(c~=nil) 
        then c:send(str) 
      end 
    end 
    node.output(s_output, 0)   
    -- re-direct output to function s_ouput.
    c:on("receive",function(c,l) 
      node.input(l)           
      --like pcall(loadstring(l)), support multiple separate lines
    end) 
    c:on("disconnection",function(c) 
      node.output(nil)        
      --unregist redirect output function, output goes to serial
    end) 
    print("Welcome to NodeMcu world.")end)


Interfacing with sensor

              -- read temperature with DS18B20
t=require("ds18b20")
t.setup(9)
addrs=t.addrs()-- Total DS18B20 numbers, assume it is 2
print(table.getn(addrs))-- The first DS18B20
print(t.read(addrs[1],t.C))
print(t.read(addrs[1],t.F))
print(t.read(addrs[1],t.K))-- The second DS18B20
print(t.read(addrs[2],t.C))
print(t.read(addrs[2],t.F))
print(t.read(addrs[2],t.K))-- Just read
print(t.read())-- Just read as centigrade
print(t.read(nil,t.C))-- Don't forget to release it after use
t =nil
ds18b20 =nil
package.loaded["ds18b20"]=nil


Contact us
 
Dit e-mailadres wordt beveiligd tegen spambots. JavaScript dient ingeschakeld te zijn om het te bekijken.

ESP8266 Wifi Temperature Logger

http://www.instructables.com/static/img/instructable/step-divider.png); background-attachment: initial; background-size: initial; background-origin: initial; background-clip: initial; background-position: 50% 100%; background-repeat: no-repeat;">
Picture of ESP8266 Wifi Temperature Logger

They day I read at hackaday (http://hackaday.com/tag/esp8266/) that a new $5 wifi module was available, I order a few of them to test. Now, a few weeks later I want to share my experience.

This is a very simple demo using the ESP8266 and Arduino to update a remote server (https://thingspeak.com/) using a digital temperature sensor.

These are really exciting times for the Internet of Things (r)evolution. Prices are coming down and the Maker community is eager to develop the next generation of all things connected.

The following setup could be done under $20. This is using off the shelf "pricey" components (like Arduino), but you could program your own MCU with UART support and make it cheaper.


Remove these adsRemove these ads by Signing Up
http://www.instructables.com/static/img/instructable/step-divider.png); background-attachment: initial; background-size: initial; background-origin: initial; background-clip: initial; background-position: 50% 100%; background-repeat: no-repeat;">

Step 1: Materials

Picture of Materials
arduino-pro-mini.jpg
 
 
http://www.instructables.com/static/img/instructable/step-divider.png); background-attachment: initial; background-size: initial; background-origin: initial; background-clip: initial; background-position: 50% 100%; background-repeat: no-repeat;">

Step 2: ESP8266 Setup

Picture of ESP8266 Setup

This is where things got tricky. I spent a lot of time testing different configurations. Note that are two version of the ESP8266 going around. The first one has the notification LEDs right next to the board pins. The second one (newer) has the LEDs by the antenna. I have the second one.

The best results came when I loaded V0.922 which allowed me to change the baud rate to 9600. Follow these steps to load this firmware.

http://www.electrodragon.com/w/Wi07c#Firmware_uploading_tool

The best way to test a good connection is by using a USB-to-TTL cable and using a terminal like CoolTerm. Here is the command to change the baud rate:

  • AT+CIOBAUD=9600

These are the pin connections I used on ESP8266 to USB-to-TTL. I used the regulated 3.3v vcc of the Arduino to power the ESP8266. I know that Arduino vcc 3.3v max is output is 150 mA and ESP8266 will peak at 240 mA. But at the time I had no other regulated 3.3v available. Regular usage for the ESP8266 is at 70mA.

Remember to connect GPIO0 to GND when you are uploading new firmware. After that remove for normal operation.

---------------------------------------------------------------------------------------------------------

GND --> GND (power source) | GPIO2 | GPIO0 | URXD --> TX (USB-to-TTL)

UTXD --> RX (USB-to-TTL) | CH_PD <--> VCC | RST | VCC --> VCC (power source)

---------------------------------------------------------------------------------------------------------

*Note also had to do USB-to-TTL GND to Arduino GND


http://www.instructables.com/static/img/instructable/step-divider.png); background-attachment: initial; background-size: initial; background-origin: initial; background-clip: initial; background-position: 50% 100%; background-repeat: no-repeat;">

Step 3: Arduino Setup and Sketch

Picture of Arduino Setup and Sketch

ESP8266 to Arduino

---------------------------------------------------------------------------------------------------------
GND --> GND Arduino | GPIO2 | GPIO0 | URXD --> TX Arduino

UTXD --> RX Arduino | CH_PD <--> VCC | RST | VCC --> VCC Arduino

---------------------------------------------------------------------------------------------------------

Digital Temperature Sensor to Arduino

---------------------------------------------------------------------------------------------------------

Arduino GND -- > GND(1) < -- > VDD(3)

DQ(2) -- > 4.7K R --> Arduino 3.3v

---------------------------------------------------------------------------------------------------------

#include<stdlib.h>
#include <SoftwareSerial.h>
#include <OneWire.h>
#include <DallasTemperature.h>
#define ONE_WIRE_BUS 8
OneWire oneWire(ONE_WIRE_BUS);
DallasTemperature sensors(&oneWire);</p><p>
#define SSID "[YOUR_SSID]"
#define PASS "[YOUR_PASSWORD]"
#define IP "184.106.153.149" // thingspeak.com
String GET = "GET /update?key=[THINGSPEAK_KEY]&field1=";
SoftwareSerial monitor(10, 11); // RX, TX

void setup()
{
  monitor.begin(9600);
  Serial.begin(9600);
  sensors.begin();
  sendDebug("AT");
  delay(5000);
  if(Serial.find("OK")){
    monitor.println("RECEIVED: OK");
    connectWiFi();
  }
}

void loop(){
  sensors.requestTemperatures();
  float tempC = sensors.getTempCByIndex(0);
  tempC = DallasTemperature::toFahrenheit(tempC);
  char buffer[10];
  String tempF = dtostrf(tempC, 4, 1, buffer);
  updateTemp(tempF);
  delay(60000);
}

void updateTemp(String tenmpF){
  String cmd = "AT+CIPSTART=\"TCP\",\"";
  cmd += IP;
  cmd += "\",80";
  sendDebug(cmd);
  delay(2000);
  if(Serial.find("Error")){
    monitor.print("RECEIVED: Error");
    return;
  }
  cmd = GET;
  cmd += tenmpF;
  cmd += "\r\n";
  Serial.print("AT+CIPSEND=");
  Serial.println(cmd.length());
  if(Serial.find(">")){
    monitor.print(">");
    monitor.print(cmd);
    Serial.print(cmd);
  }else{
    sendDebug("AT+CIPCLOSE");
  }
  if(Serial.find("OK")){
    monitor.println("RECEIVED: OK");
  }else{
    monitor.println("RECEIVED: Error");
  }
}
void sendDebug(String cmd){
  monitor.print("SEND: ");
  monitor.println(cmd);
  Serial.println(cmd);
} 
 
boolean connectWiFi(){
  Serial.println("AT+CWMODE=1");
  delay(2000);
  String cmd="AT+CWJAP=\"";
  cmd+=SSID;
  cmd+="\",\"";
  cmd+=PASS;
  cmd+="\"";
  sendDebug(cmd);
  delay(5000);
  if(Serial.find("OK")){
    monitor.println("RECEIVED: OK");
    return true;
  }else{
    monitor.println("RECEIVED: Error");
    return false;
  }
}

*UPDATE. Once your done testing/monitoring. Load the same sketch without SoftwareSerial Monitor. This gave me better results as stand alone.

#include 
#include 
#include
#define ONE_WIRE_BUS 8
OneWire oneWire(ONE_WIRE_BUS);
DallasTemperature sensors(&oneWire);

#define SSID "[YOUR_SSID]"
#define PASS "[YOUR_PASSWORD]"
#define IP "184.106.153.149" // thingspeak.com
String GET = "GET /update?key=[THINGSPEAK_KEY]&field1=";


void setup()
{
  Serial.begin(9600);
  sensors.begin();
  Serial.println("AT");
  delay(5000);
  if(Serial.find("OK")){
    connectWiFi();
  }
}

void loop(){
  sensors.requestTemperatures();
  float tempC = sensors.getTempCByIndex(0);
  tempC = DallasTemperature::toFahrenheit(tempC);
  char buffer[10];
  String tempF = dtostrf(tempC, 4, 1, buffer);
  updateTemp(tempF);
  delay(60000);
}

void updateTemp(String tenmpF){
  String cmd = "AT+CIPSTART=\"TCP\",\"";
  cmd += IP;
  cmd += "\",80";
  Serial.println(cmd);
  delay(2000);
  if(Serial.find("Error")){
    return;
  }
  cmd = GET;
  cmd += tenmpF;
  cmd += "\r\n";
  Serial.print("AT+CIPSEND=");
  Serial.println(cmd.length());
  if(Serial.find(">")){
    Serial.print(cmd);
  }else{
    Serial.println("AT+CIPCLOSE");
  }
}

 
boolean connectWiFi(){
  Serial.println("AT+CWMODE=1");
  delay(2000);
  String cmd="AT+CWJAP=\"";
  cmd+=SSID;
  cmd+="\",\"";
  cmd+=PASS;
  cmd+="\"";
  Serial.println(cmd);
  delay(5000);
  if(Serial.find("OK")){
    return true;
  }else{
    return false;
  }
}
 
 
http://www.instructables.com/static/img/instructable/step-divider.png); background-attachment: initial; background-size: initial; background-origin: initial; background-clip: initial; background-position: 50% 100%; background-repeat: no-repeat;">

Step 4: ThingSpeak setup

Picture of ThingSpeak setup
 

ThinkSpeak is just awesome! Follow these simple steps to start you own feed:

  1. Sign up for a FREE account at https://thingspeak.com/
  2. Go to Channels --> Create New Channel (you can leave all defaults)
  3. Go to API Keys and get your KEY
  4. Test by putting this on your browser
    http://api.thingspeak.com/update?key=[THINGSPEAK_KEY]&field1=0
  5. Check your results

    http://api.thingspeak.com/channels/[CHANNEL_ID]/feed.json?key=[THINGSPEAK_KEY]

Now you are ready to start sending data.

ESP8266 remote serial Port WIFI wireless module

11kinds for choose . pls left message for which one you need. otherwise we we will ship ESP-03
 
 
Sections of the advantages are as follows: 
 
ESP-01 through the use of professional equipment matching PCB antenna, the radiation effect is excellent, 8PIN-pin serial port and upgrade leads to the mouth, and a reset 
 
ESP-02 external antenna can penetrate the metal shield, better external antenna, the proposed standard with 50-ohm antenna 
 
ESP-03 leads all available IO ports, and using high-gain antennas shrink ceramics, suitable for development with the SDK friend 
 
ESP-04 leads all the IO ports, antenna customers can design their own freedom, more flexible 
 
ESP-05 interface only leads to ease of use UART and VCC
 
ESP-06: bottom mount technology, leads all the IO ports, with metal shielding shell
 
ESP-07: Semi-hole chip technology, all the IO leads, with metal shielding shell
 
ESP-08: same as ESP-07, except that the antenna is in the form of customers can define their own
 
ESP-09: Ultra-small size package, only 10 * 10 mm, four-layer board technology 1M bytes!
 
ESP-10: SMD interface, narrow-body design, 10 mm wide, suitable for light with controller
 
ESP-11: SMD interface, ceramic antenna, small size
 
 
This module advantages: 
 
A low price, only to earn a small profit base, hope that this will bring more rapid development of animal networking 
 
Two smallest done about 11 * 10 mm, the size of a fingernail. Easily embedded into any product 
 
3 Powerful internal ran LWIP agreement 
 
4 supports three modes: AP, STA, AP + STA coexistence mode 
 
5 perfect simple and efficient AT commands, allowing you to develop more simple. 
 
       Things history of this concept has been five or six years, but has never really into life! The reason is as follows: Things have to be regarded networking things, but to get networked household appliances, before costly price overshadowed main circuit board! Therefore lingering large area applications. But only a matter of time! We waited for 3-5 years, various radio manufacturers, network equipment design giants have all eyes on this market, as we all know: If the price down, the demand is huge, the initial conservative estimate of global demand at 1.5 billion stars of the annual demand. So TI's CC series Qualcomm QCA400X series MTK's MT76XX series and East China Normal University and Taiwan have several research and development capabilities, have started in April 2014, are small quantities to test the water! And at the beginning of June 2014 to July have to market prices from over 50 over 40 over 30 over 20 dollars, this is just the price strategy between suppliers, but their marketing strategies must comply with market rules and people's spending power, in order to get large quantities of promotion, WIFI chip prices must be the product of the proportion of things in the whole BOM costs must be lower than 30% in order to get a large area, but before June 2014 a, WIFI cost module in the customer material costs accounted for almost 60% of the cost! Clearly this is unreasonable, and hindered the pace of development of this industry. 
 
        According to market rules: analysis of the current market can have several competitive WIFI chip manufacturers, although each one has launched its own WIFI chip, and input costs millions of tens of millions. But the real survive, and only one or two. Because their production process, and design, as well as application experience, and price positioning of customers. And China's market, can truly unified market presumably only one! Is simply cruel reality. Things in the upcoming initial flourish, can choose a truly competitive chips. That is for the future development of crucial! We do not want the wrong team. . . 
 
      In the absence of more cattle X chip out now is the most cattle X. 
 
After the recent trends in the situation more than a month, almost shocking, because the whole market is that several have made tremendous feeling! 
 
Let us appreciate: no final finisher, simply because most cattle X, it has not yet appeared. . . . Everything is just the beginning! ! 
 
But things really make the entire industry toward the climax is: the emergence of Shanghai Yue Xin Technology ESP8266 chip. They incredible 
 
Hardware and software update rate, and very shocking price advantage to market quickly! So that the entire industry is not a trace of preparedness. 
 
Yue Xin advantages: 
 
        A very professional, Espressif is Shanghai Yue Xin, only WIFI. Several other competitors do more pan. 
 
        2 staffing more powerful, 30-40 WIFI chip engineers only for this service! None can do it? 
 
        High professional quality three officers, who CEO for the United States Chief Technology Officer, a well-known listed companies, there are several men Dr. returnees.
 
        4 More to the point: a pragmatic! Office area, although not super big, but all are professionals, there is no redundancy in the department, really appreciate it, do not speak face-saving projects, working sense, this is a lot of companies can not do. 
 
        5 ground gas, Xin Yue contacted each employee, are very enthusiastic and gas. They can efficiently happy to help you solve technical issues and business problems you encounter. In contrast, several other companies: their superior technical personnel operational staff, dragon head, not the tail, are more difficult to want to learn, to reflect on.